


Watercolor Painting Koi Fish in a Bulb
Category: Tutorials
- views: 47
- date: 26 August 2026
- posted by: AD-TEAM

Watercolor Painting - Koi Fish in a Bulb
MP4 | Video: h264, 1920x1080 | Audio: AAC, 44.1 KHz, 2 Ch
Genre: eLearning | Language: English (US) | Duration: 1.5 h | Size: 2.48 GB
Koi Carp in a Bulb
Course Overview
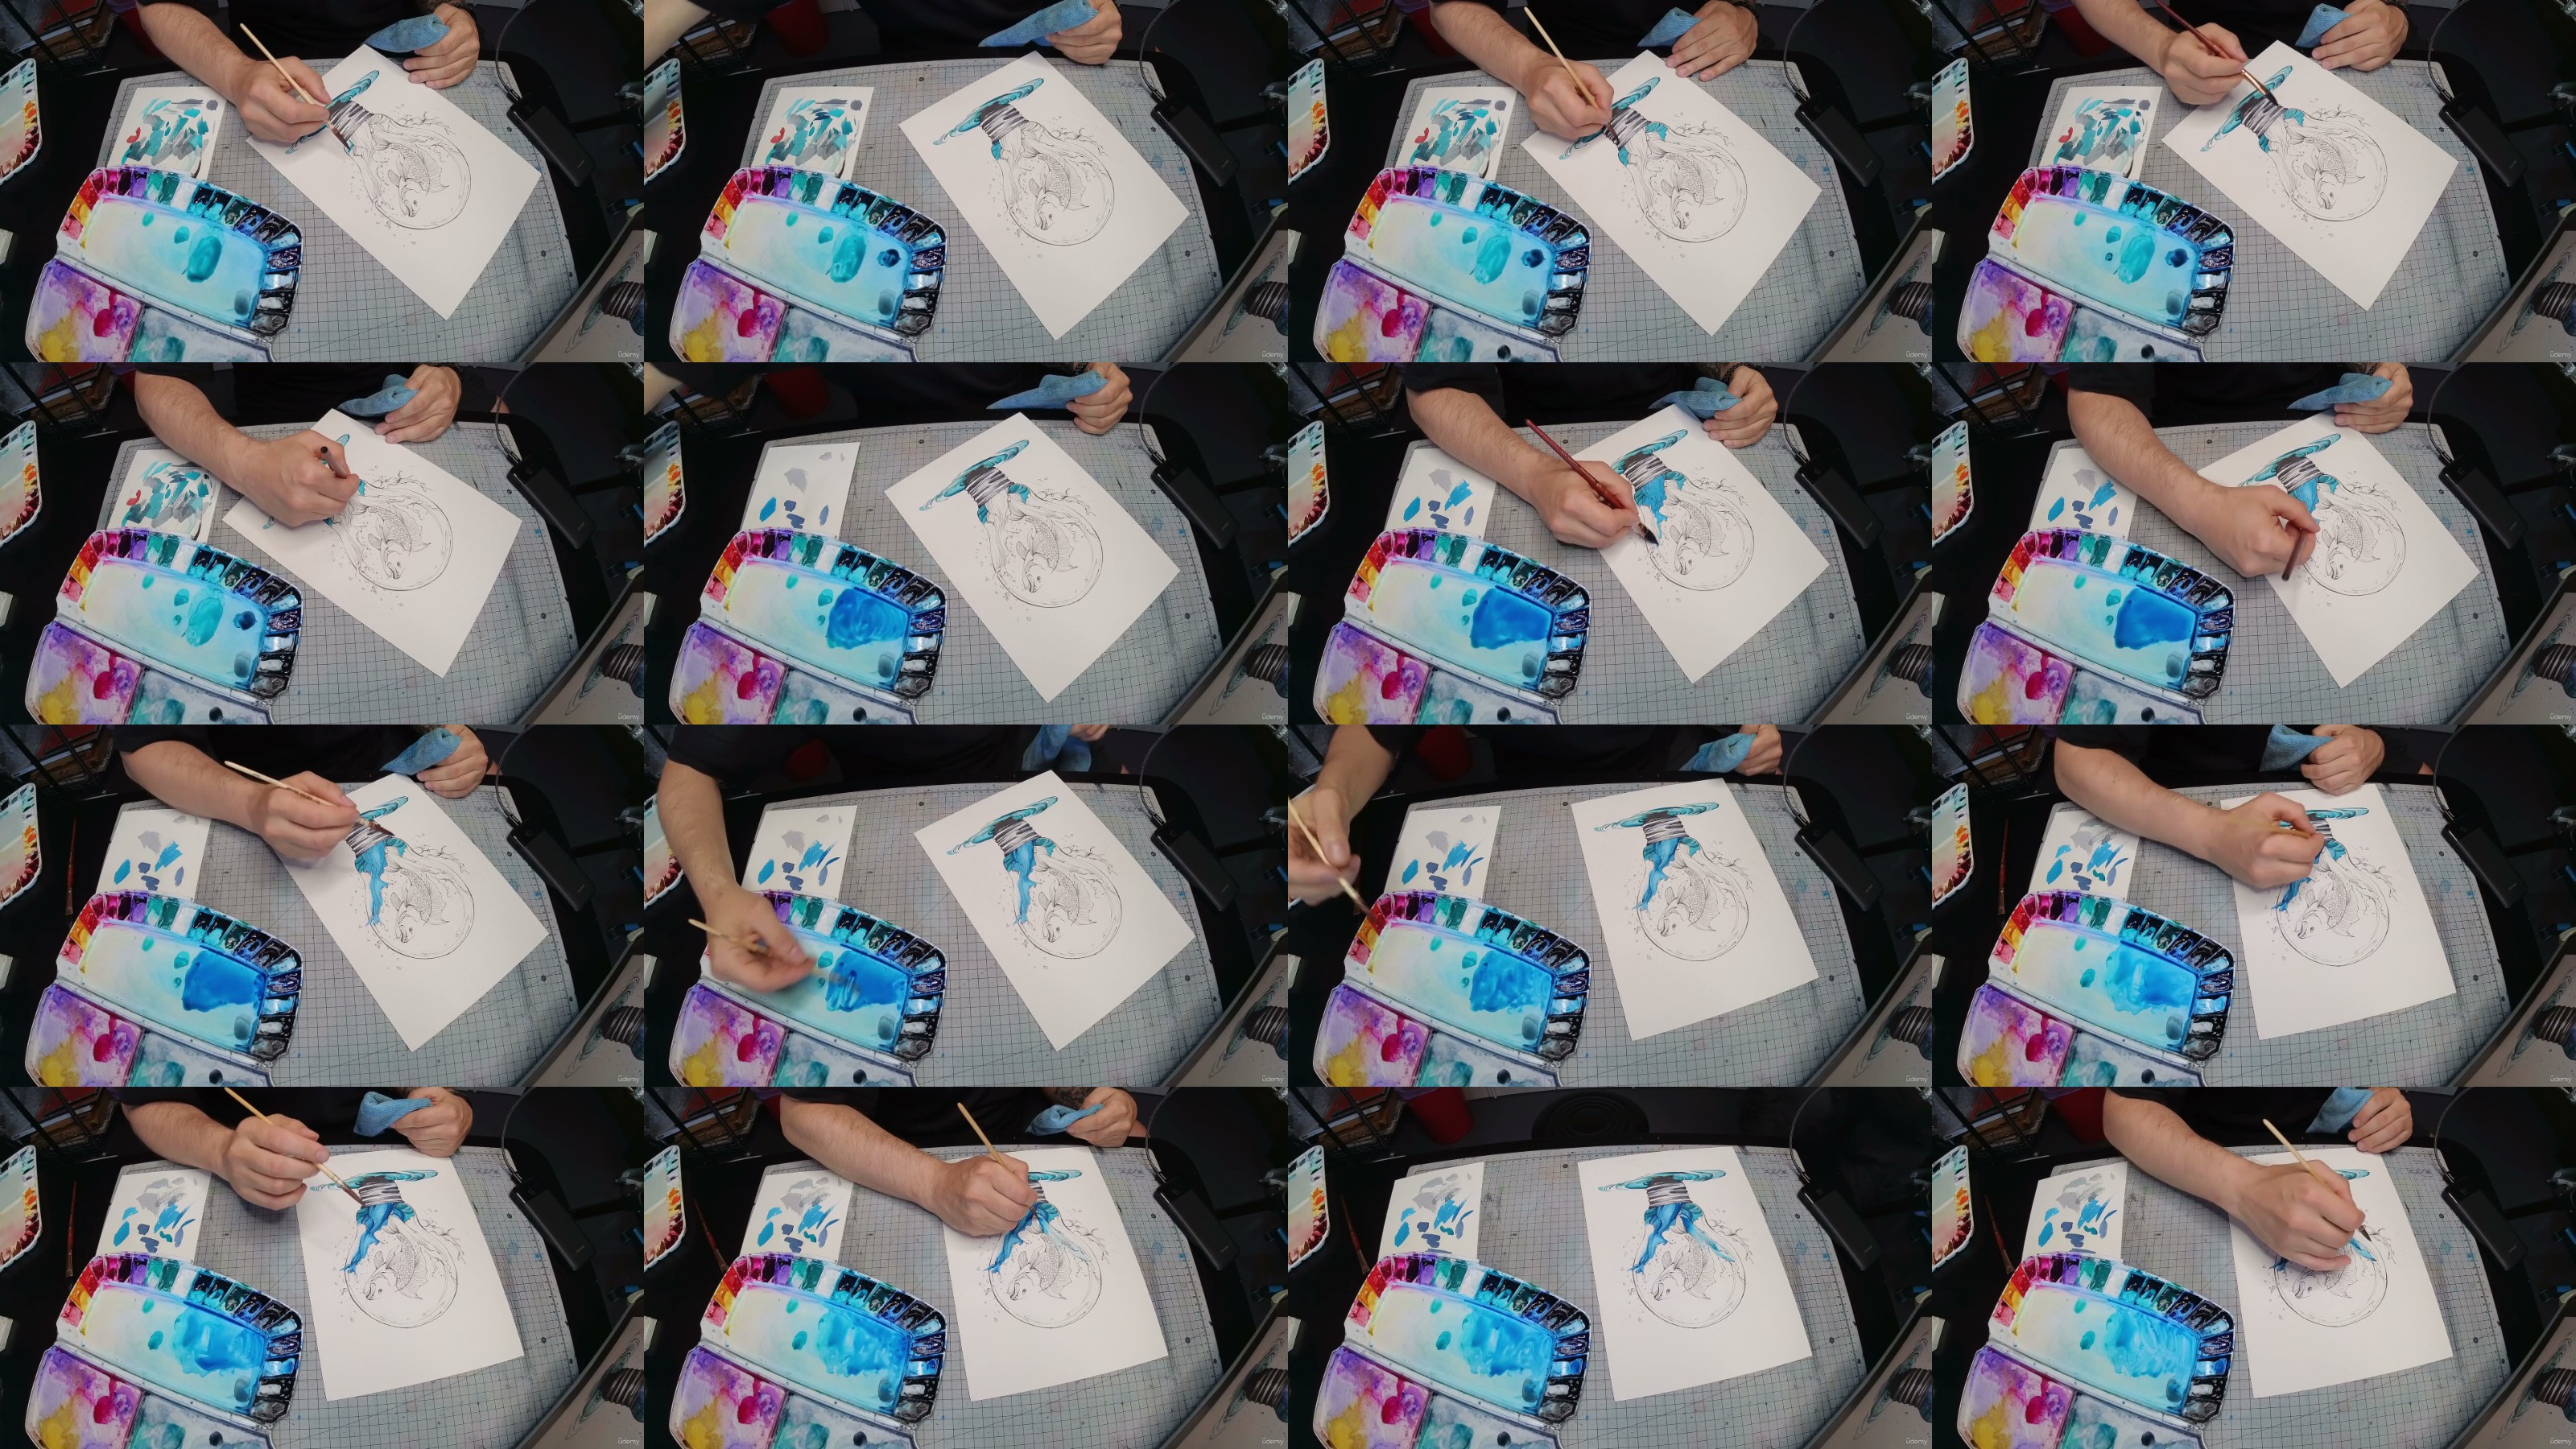
In this course, I like to show you an artistic journey to create a stunning watercolor painting featuring a red-orange koi carp swimming inside a light bulb, complemented by dynamic teal splash water.
The course was designed to guide you through each step of the painting process, from initial sketching and image transfering, to the final touches of vibrant watercolor.
Materials Used
1. Technical Pencil - for detailed sketching and outlining.
2. Fountain Pen - for creating bold, defined lines.
3. Black Ink - used with the fountain pen for sharp outlines and details.
4. Mop Brush - for washes watercolor and smooth color transitions, using glazing technique
5. Arches Paper (Rough, 20x30 cm) - premium watercolor paper providing texture and durability.
Steps and Techniques
1. Sketching the Design:
Begin by lightly sketching the outline of the light bulb and the koi carp using the technical pencil, transfering the reference image with an App to the paper.
Focus on capturing the proportions and the flow of the koi's fins and tail.
2. Inking the Outline:
Use the fountain pen with black ink to outline the koi carp and the bulb.
Add details to the koi's scales, eyes, and fins, ensuring the lines are clean and precise.
3. Applying the Watercolor:
Start to paint Wet on Dry the blue and teal water splash at the bottom of the Koi Carp
With the red-orange hues for the koi carp. Mix and blend the colors to create depth and vibrancy.
Use the mop brush to apply broad washes of teal around the koi,
Layer the colors gradually, allowing each layer to dry before adding more to avoid muddying the colors.
4. Final Touches:
Enhance the shadows on the koi to give it a more three-dimensional appearance.
Add any additional details to the water splash using varying intensities of teal and blue.
Tips for Success
Patience with Layers: Allow each layer of watercolor to dry completely before applying the next to maintain color integrity.
Brush Control: Use the mop brush with gentle, sweeping motions for smooth transitions and a natural splash effect.
Detailing: The fountain pen is key for sharp, detailed lines. Practice your penmanship to achieve clean lines.
This course aimed to enhance your watercolor painting skills while encouraging creativity and precision. By the end of the course, you should have a beautiful painting of a red-orange koi carp in a bulb with teal splash water, showcasing your improved technique and artistic vision.
More Info

RapidGator
https://rapidgator.net/file/d4333adc0f23e40bac72012d278df0fb/yxusj.Udemy.-.Watercolor.Painting.-.Koi.Fish.in.a.Bulb.part1.rar
https://rapidgator.net/file/fe51b89273c7d109083ec1219642cb72/yxusj.Udemy.-.Watercolor.Painting.-.Koi.Fish.in.a.Bulb.part2.rar
https://rapidgator.net/file/0db6e6f400aca3f3e3b86038417f8e2e/yxusj.Udemy.-.Watercolor.Painting.-.Koi.Fish.in.a.Bulb.part3.rar
DDownload
https://ddownload.com/q4u9evioloq8/yxusj.Udemy.-.Watercolor.Painting.-.Koi.Fish.in.a.Bulb.part1.rar
https://ddownload.com/vj2rjpsvrt3v/yxusj.Udemy.-.Watercolor.Painting.-.Koi.Fish.in.a.Bulb.part2.rar
https://ddownload.com/8023mz5kc70c/yxusj.Udemy.-.Watercolor.Painting.-.Koi.Fish.in.a.Bulb.part3.rar
NitroFlare
https://nitroflare.com/view/7707546FD1B2F9E/yxusj.Udemy.-.Watercolor.Painting.-.Koi.Fish.in.a.Bulb.part1.rar
https://nitroflare.com/view/FE1154B2C62949B/yxusj.Udemy.-.Watercolor.Painting.-.Koi.Fish.in.a.Bulb.part2.rar
https://nitroflare.com/view/32613ACFA7F565C/yxusj.Udemy.-.Watercolor.Painting.-.Koi.Fish.in.a.Bulb.part3.rar
UsersDrive
We need your support!
Make a donation to help us stay online

Bitcoin (BTC)
bc1q08g9d22cxkawsjlf8etuek2pc9n2a3hs4cdrld

Bitcoin Cash (BCH)
qqvwexzhvgauxq2apgc4j0ewvcak6hh6lsnzmvtkem

Ethereum (ETH)
0xb55513D2c91A6e3c497621644ec99e206CDaf239

Litecoin (LTC)
ltc1qt6g2trfv9tjs4qj68sqc4uf0ukvc9jpnsyt59u

USDT (ERC20)
0xb55513D2c91A6e3c497621644ec99e206CDaf239

USDT (TRC20)
TYdPNrz7v1P9riWBWZ317oBgJueheGjATm
Information |
|||
 |
Users of GUESTS are not allowed to comment this publication. | ||